How Balayage at Home Without Damaging Your Hair
Learn how balayage at home with a step-by-step guide on safety, tools, technique, and when a professional is the smarter call. No salon required.

The most popular home balayage advice is also the least useful: paint some lightener onto your ends, wait, and tone away the warmth. That skips the decisions that matter most. Your hair's porosity, chemical history, and natural curl shape determine what's worth attempting, not how closely you copy someone's brush strokes.
If you're searching for how balayage at home can work without wrecking your hair, start with an honest limit: bleaching isn't damage-free. You can control exposure and keep your ambitions modest, but you can't promise untouched hair after lightening it. My recommendation is simple: attempt subtle, selective brightness on healthy hair, and leave major transformations or corrections to a colorist.
What Home Balayage Actually Is
Balayage isn't just painting on lightener. It's controlled bleaching with deliberate placement. The soft ribbons are the visible result, but managing the condition of the hair underneath matters more than the shape of your brush stroke.
Lightener typically uses hydrogen peroxide and persulfates to oxidize and remove melanin. Unlike ordinary color that deposits pigment, bleaching changes the fiber while making it lighter. That distinction explains why a good-looking result can still leave hair less resilient.
Placement and chemistry are separate decisions
Think of balayage as a way to distribute brightness, not a promise of a particular shade. You're choosing selected lengths to lighten while keeping darker hair between them. The blended transition depends on graduated application rather than painting every section to the same height.
For deciding what to attempt, use these practical distinctions:
- Balayage: Choose this for selected ribbons with a softened starting point and brighter lengths.
- Foil highlights or babylights: Consider professional placement when you want closely controlled brightness throughout the hair, especially near the roots.
- Ombré: Think of a broader dark-to-light transition across the lengths, rather than separated ribbons.
- All-over color: Choose this when your goal is an overall shade change, not selective lightening.
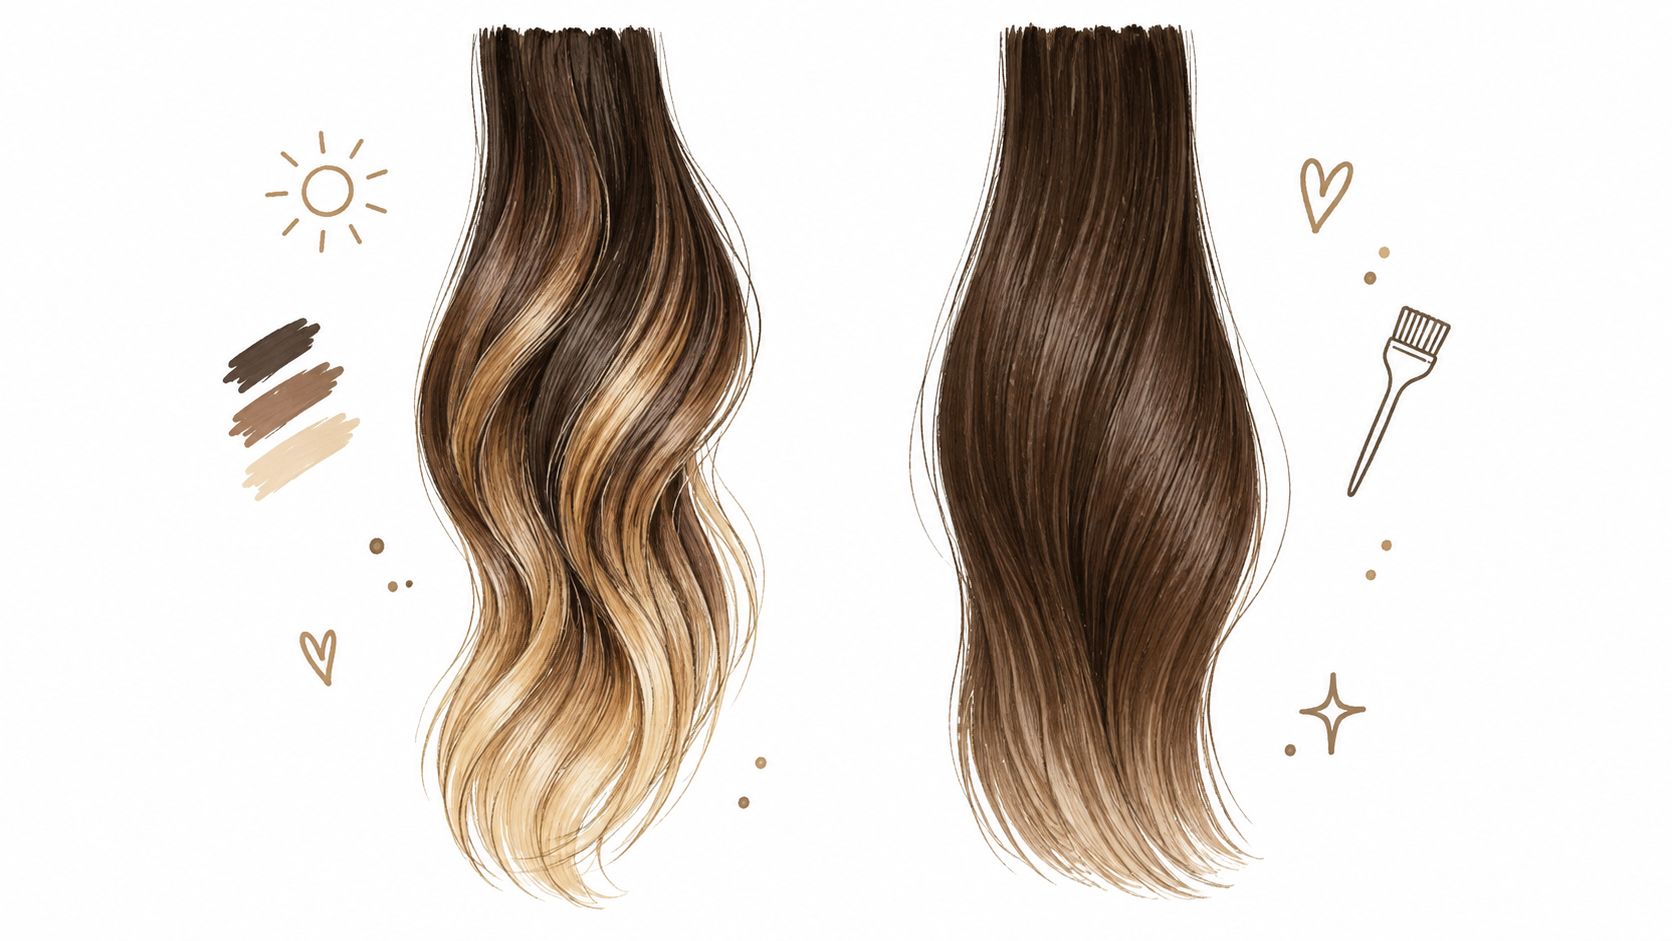
The difference is easier to visualize on separate swatches.
A prettier finish doesn't prove stronger hair
Bleaching damage can begin before you reach your desired shade. In a hair-fiber study, wet breaking force fell by about 20% after the first minute of bleaching, with a further decrease after 10 minutes, as described in this hair-fiber bleaching study.
That's why I wouldn't make pale blonde the finish line for a first home attempt on dark hair. A restrained result that your test strand tolerates is a better choice than chasing brightness until the lengths weaken.
Practical rule: Choose the result your hair can tolerate, not the result you can keep processing toward.
Safety Checks You Must Do First
Before you buy a kit, decide whether your scalp and hair belong anywhere near lightener. An allergy test, a strand test, and a chemical-history audit answer different questions. Passing one doesn't replace the others.
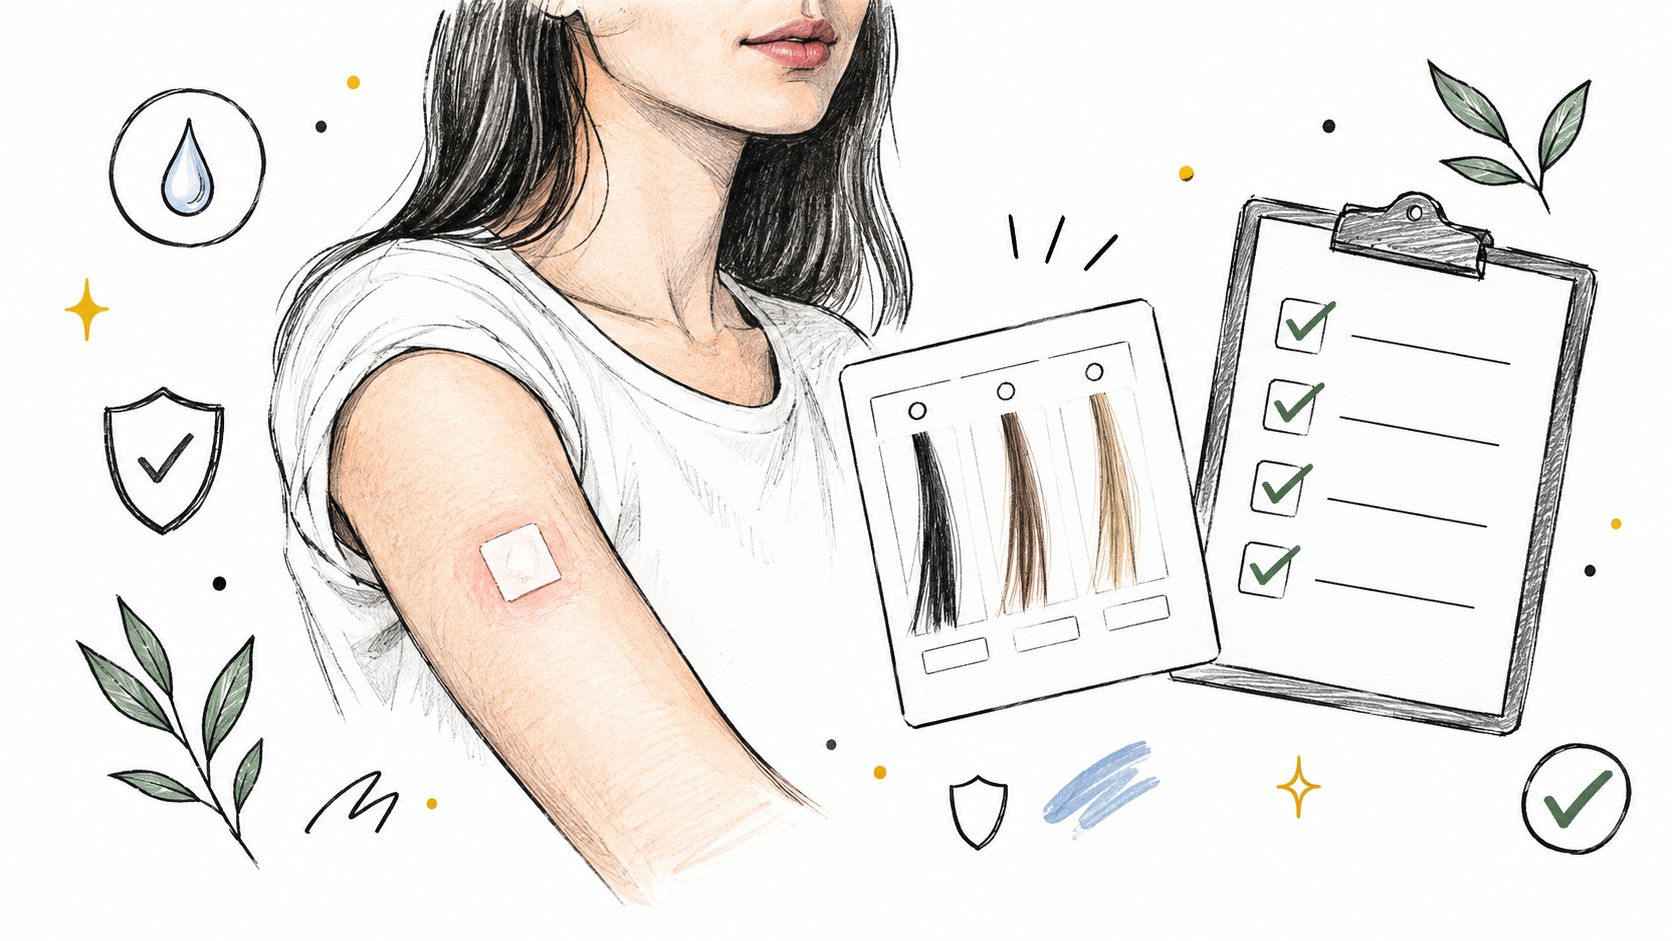
The distinction between skin testing and testing the hair itself matters.
Treat testing as permission to proceed
Follow your chosen product's allergy-testing instructions exactly, including whether and how its components should be tested. Manufacturer guidance recommends a skin allergy test 48 hours before every application, plus a separate strand test for development time and color outcome, as explained in Wella's hair-color safety testing guidance.
A previous negative test isn't permanent clearance. If you've reacted to hair color before, don't try again without medical advice.
For the strand test, choose a hidden section that represents the hair you intend to lighten. Test through the same mix, application, rinsing, and drying routine you'll use later. Inspect both the color and the condition after drying, rather than approving it while it's wet and coated in conditioner.
Audit the scalp and the lengths separately
Use this go-or-stop checklist:
- Scalp symptoms: Postpone if your scalp is irritated, broken, or actively uncomfortable. Eczema and previous cosmetic reactions deserve medical guidance, not a workaround.
- Chemical history: Write down previous bleach, permanent color, relaxing, and perming. Don't assume a service stops mattering because you can't see it anymore.
- Hair condition: Brittle lengths, unusual stretching, or fragile ends are reasons to stop before application.
- Test outcome: Reject a strand that becomes gummy, breaks readily, or lifts too unevenly for the result you want.
If you're unsure whether you're dealing with routine dryness or ongoing irritation, use this guide to dry scalp and curly hair to organize your observations. It isn't medical clearance to bleach.
Burning, intense stinging, rash, or swelling means stop and rinse immediately. Breathing difficulty requires urgent medical attention. Don't neutralize bleach with household chemicals, and don't tolerate pain for a lighter result.
Choosing the Right Kit and Developer
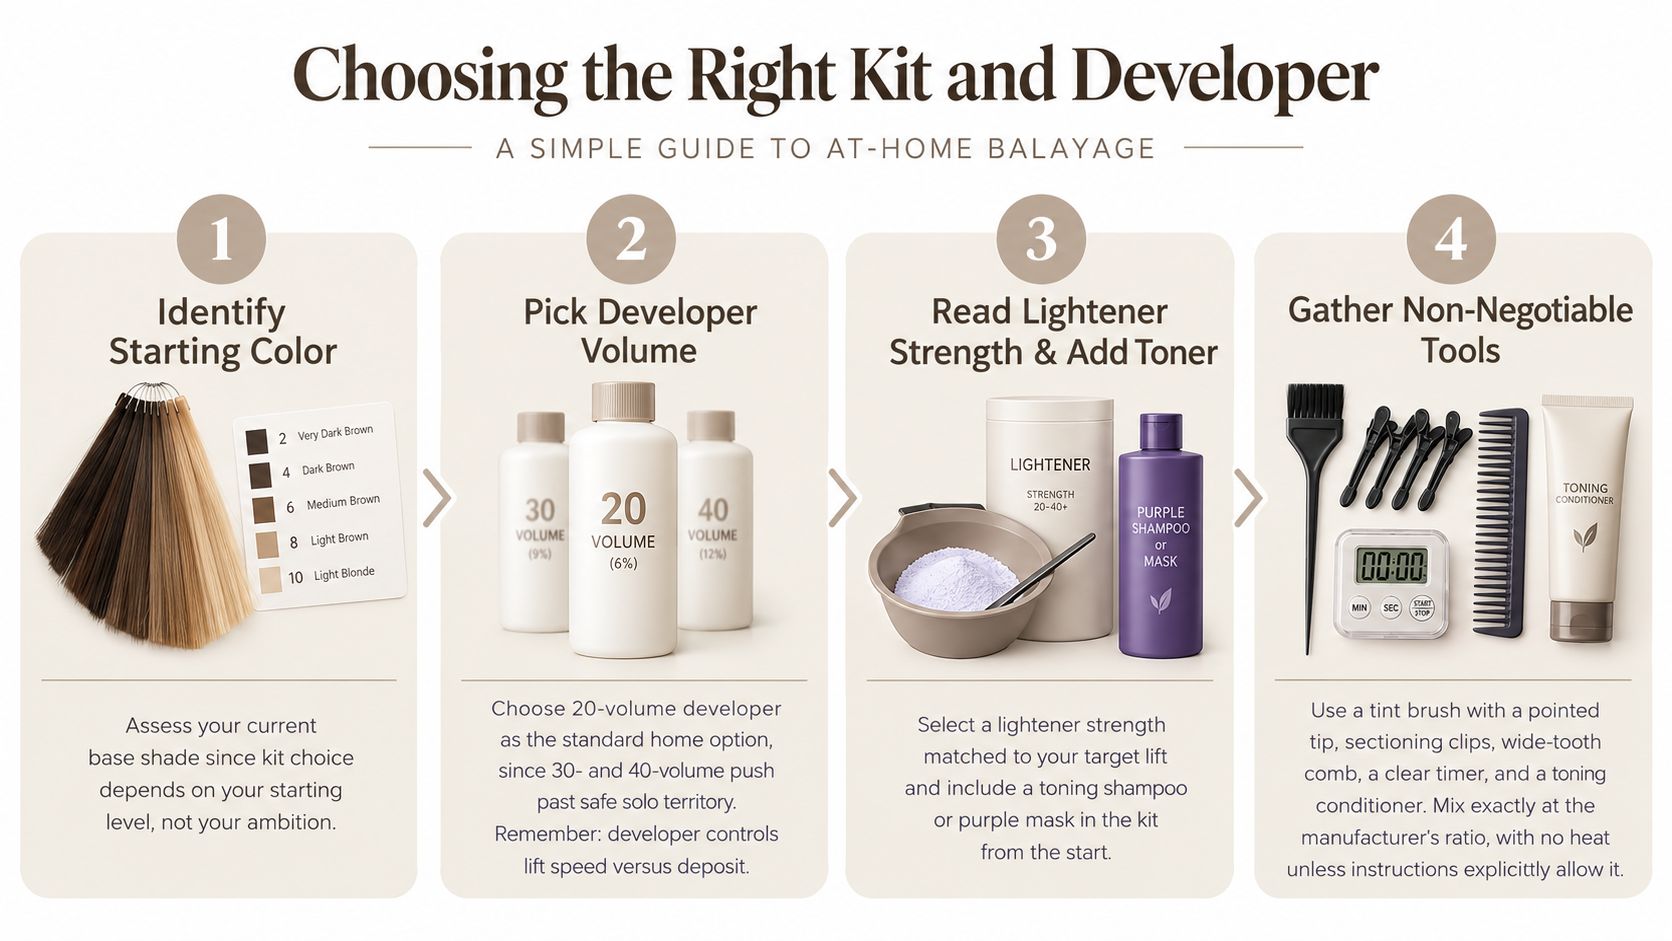
Buy a kit for your starting color and hair history, not for the blonde photograph on the box. If its instructions don't cover your current hair, it's the wrong kit. If the result you want requires improvising with a stronger developer, it's the wrong home project.
I'd choose a complete consumer balayage kit over assembling professional powders, developers, and additives from unrelated ranges. Your strand test still decides whether to proceed, but a matched system removes unnecessary guesswork about compatibility and mixing.
Don't shop by developer strength alone
Developer participates in the oxidation that enables lightening. Stronger doesn't mean more skillful, more even, or more suitable for your hair. There's no universal developer strength that makes home balayage safe, so don't replace the kit's supplied developer because another tutorial promises faster lift.
Use this buying logic instead:
- Healthy, uncolored hair with a modest goal: Look for a kit explicitly intended for your starting shade, then test it.
- Previously colored hair: Don't assume the same kit will behave like it does on untreated hair. Make chemical history part of the decision.
- A dark base with a very light target: Book a consultation rather than buying more aggressive chemistry.
- Fragile or highly porous lengths: Put off lightening. A gentler-looking box doesn't reverse existing damage.
Porosity also matters outside the coloring session. If you've been following a low-porosity hair routine, don't assume that label describes every part of your hair after previous color services. Treat roots, mids, and ends as potentially different working surfaces.
Gather tools before opening the lightener
Set out gloves, sectioning clips, a tint brush with a pointed handle, a wide-tooth comb for preparation, a readable timer, and the conditioning treatment recommended by the kit. Use its specified mixing container and applicators.
Have a suitable toning conditioner available, but don't buy purple products automatically. Choose a product whose instructions match the warmth and starting shade shown by your test.
A complete kit is a system to follow, not a collection of ingredients to improve.
Mix exactly as instructed. Don't add conditioner, oil, extra developer, or improvised heat to change how the lightener behaves.
Sectioning and Applying the Lightener
Consider a head of dense curls with darker mids and old highlights at the ends. Stretching every curl flat and copying a straight-hair tutorial would hide two important things: where the brightness will sit after shrinkage, and which lengths have already been bleached. A better plan starts with the hair's natural fall.
Before application, review the setup choices rather than changing chemistry halfway through.
Map the curls, then make working sections
Observe your curls wet and again fully dry to understand their change in length and position. That's placement planning, not permission to apply lightener to wet hair. Prepare the hair in the condition your kit specifies.
Keep larger curl groups clearly separated while planning, then isolate thin strands within them for application. Larger organizational sections don't mean thick panels of hair should receive lightener.
A consumer workflow recommends dividing hair into four sections, working from the lower back upward, and isolating approximately quarter-inch strands, with lightener beginning several inches from the scalp and a feathered upper boundary, according to L'Oréal Paris's home balayage application guide.
For dense curls, check that you can see and reach the strand you've selected. If the section conceals untreated hair underneath, make it smaller. If a previously highlighted end falls within it, separate that end rather than repainting it.
Lightener Placement by Starting Color
These are conservative placement choices, not promises of a particular final shade.
| Starting Color | Where to Begin Painting | Notes |
|---|---|---|
| Light brown or dark blonde | Selected mid-lengths, with a softened upper edge | Let the strand test determine your brightness limit. |
| Medium brown | Clearly separated mid-lengths toward untreated ends | Keep enough untouched hair between ribbons to preserve contrast. |
| Dark brown or black | Restrict any attempt to selected untreated lengths | Choose modest brightness or professional assessment for substantial lift. |
| Previously colored hair | Only areas judged suitable through testing | Starting shade alone can't establish a safe application plan. |
Feather the top edge with a light touch rather than drawing a horizontal stripe. Within the selected area, apply evenly through the mids and eligible ends. Keep adjacent, unselected hair out of the product.
Use the demonstration to observe application movements, not to override your kit's instructions or your test result.
If you can't see the back clearly enough to separate old highlights from untreated lengths, stop. Guessing behind your head isn't a balayage technique.
Processing, Rinsing, and Toning at Home
Once lightener is on, the clock, the developing color, and the condition of the hair all matter. The maximum processing time is a ceiling, not a target you must reach. Don't keep going merely because the shade still looks warmer than your inspiration photo.
Sections applied first have already had more exposure than sections painted last. Record your application timing clearly, keep checking according to the kit's directions, and don't treat the whole head as though every strand started together.
Read condition before chasing color
Your strand test provides the best reference for what this application can reasonably achieve. Compare developing strands with that result rather than trying to identify a perfect shade through a coating of lightener.
Use these priorities:
- Condition first: Stop for excessive elasticity, gummy texture, or visible fragility.
- Comfort next: Follow the stop-and-rinse rules established during your safety checks. Pain isn't evidence that the product is working correctly.
- Color within limits: Accept a warmer or less dramatic result rather than extending exposure beyond the instructions.
Don't repeatedly pull on processed hair to test its strength. Gentle observation is enough to notice that something has changed; aggressive stretching adds handling to already stressed lengths.
Rinse before making another color decision
Rinse thoroughly with lukewarm water, not hot water, and follow the kit's cleansing and conditioning instructions. Remove the product completely before deciding whether the tone needs adjusting.
A conditioning toner or mask should match the color you achieved. For a purple product, check that the label identifies your visible yellow warmth as an appropriate target. For a blue product, check that it's intended for the orange warmth and base shade you have.
Toner is a finishing choice, not permission to keep bleaching until damaged hair looks blonde.
If the test or finished result shows distinct bands, don't paint another layer over them that evening. Separate the problems: uneven placement needs assessment, warmth needs an appropriate tonal choice, and fragile hair needs chemical services postponed.
Let the hair dry gently before judging the overall result. Wet curls and conditioner can conceal differences that become obvious once the hair returns to its natural shape.
The First 24 Hours After Rinsing
Hair that looks acceptable immediately after rinsing hasn't necessarily escaped damage. Research reviewed in Typology's discussion of hair dye and fiber damage reports that microscopic damage reaches its greatest severity between 6 and 24 hours after coloring. An immediate mirror check isn't enough to judge recovery.
The practical response is restraint, not another treatment marathon. Give yourself time to observe the hair without layering on heat, tension, or more chemical processing.
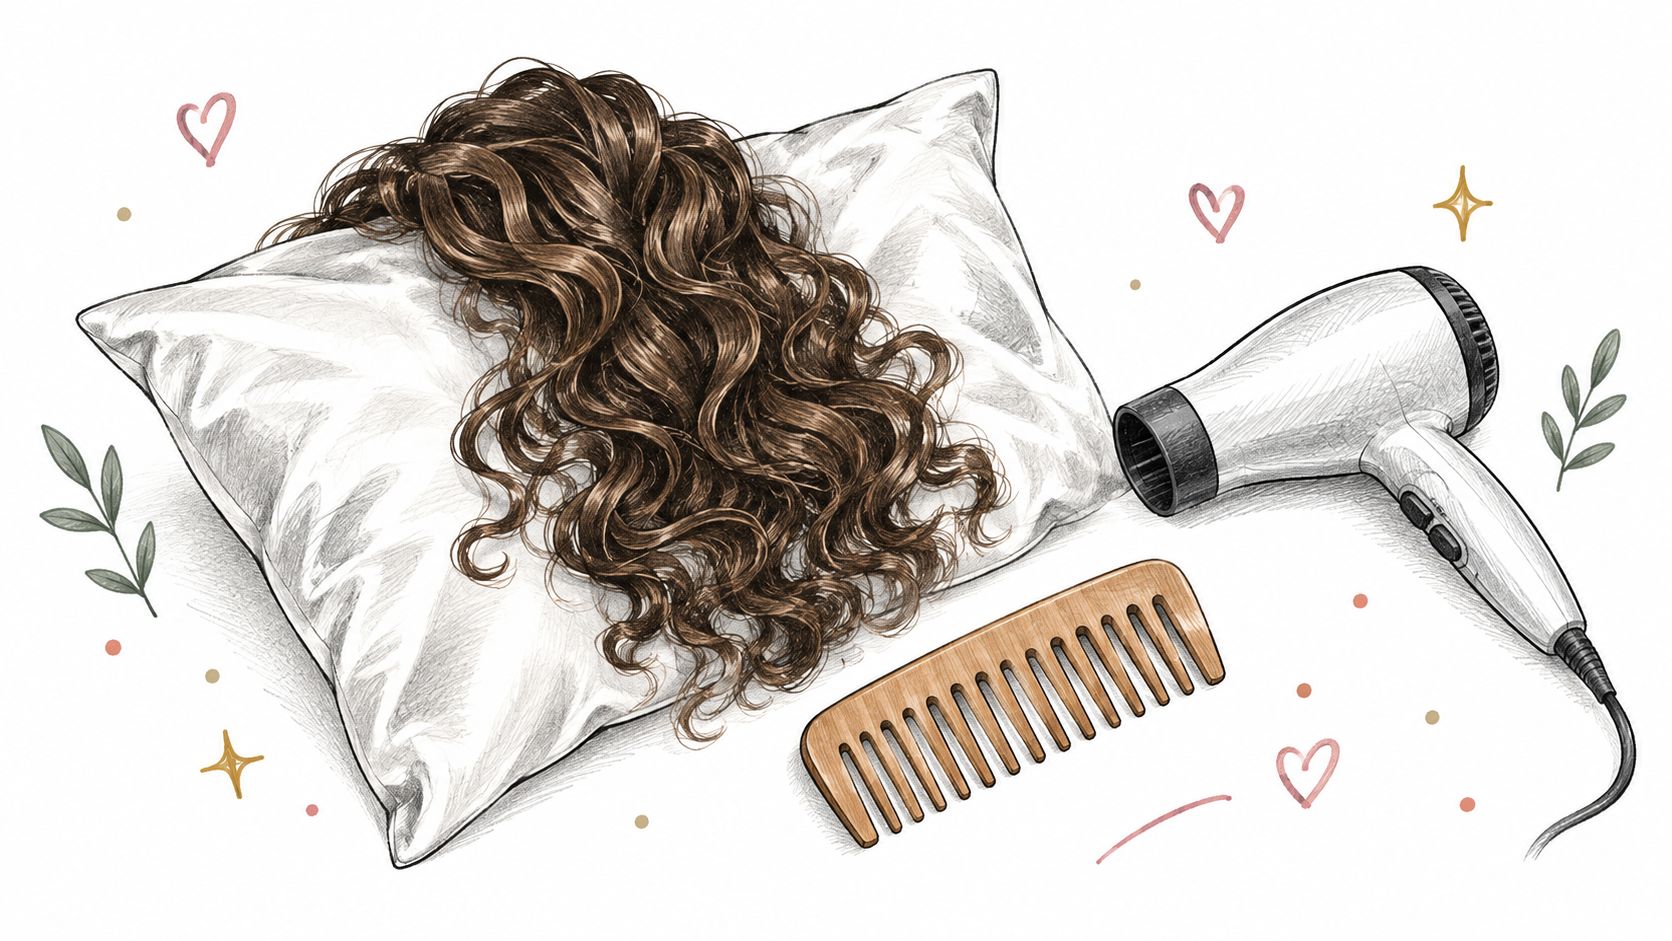
A gentle drying and sleep setup is a sensible place to start.
Keep the first evening uncomplicated
My conservative aftercare recommendation is:
- Skip heat tools: Don't straighten the result just to inspect it.
- Reduce tension: Leave out tight elastics and styles that pull on the lightened lengths.
- Handle gently: Blot rather than rub with a towel, and detangle without forcing knots.
- Keep bedtime simple: Use a silk or satin pillowcase if available, and avoid compressing curls into a tight style.
- Delay extra exposure: Postpone additional color services, aggressive clarifying, and swimming while you assess the hair.
Observe before changing your entire routine
Start with conditioning rather than buying every protein treatment labeled for damaged hair. If you introduce a protein-containing product, follow its directions and note how your hair responds. Don't assume more products will restore the strength removed by bleaching.
Keep a brief daily record of curl definition, frizz, softness, tangling, and unusual shedding or breakage. Take photos under similar lighting so you can compare the same areas after drying.
An oily scalp and dry lightened ends need separate decisions. Use an oily-hair care routine to plan cleansing around scalp needs rather than withholding necessary washing to protect the color. Persistent gumminess or breakage calls for professional assessment, not another bleaching session.
When a Professional Is the Smarter Call
Saving money is a legitimate reason to consider home color. 43% of U.S. home-hair-color consumers say they color at home to save money, according to Mintel's U.S. home hair color market report. But a low kit price doesn't tell you what the complete project could cost if you also need correction.
I'd book a colorist for box-dyed black hair, overlapping bleach and permanent color, or a major lightening goal on a dark base. Those situations require more than attractive surface placement. Someone needs to assess what each part of the hair has already experienced.
Book assessment, not a stronger kit
These are clear reasons to choose professional help:
- Several chemical histories on the same lengths: Previous bleach, permanent color, relaxing, or perming complicate the decision.
- Existing bands or patches: A correction needs targeted assessment, not another all-over pass.
- Fragile fibers: Breakage, brittle ends, and abnormal stretching make further lightening the wrong priority.
- Unmanageable application: If density, fine strands, or limited visibility prevent clean separation, don't force the process.
- An ambitious target: Bring the inspiration photo to a consultation and ask what your hair can reasonably support.
Curl pattern alone isn't a reason to refuse home balayage. Healthy curls with a modest goal are a different proposition from heat-damaged curls carrying old highlights. Likewise, straight hair isn't automatically an easy candidate.
Ask the colorist whether your goal needs lightening, tonal correction, or different placement. Bring your chemical history and photos of the test strand if you've already completed one.
If you can't confidently identify suitable hair, keep product off compromised lengths, and monitor every painted section, book the professional. You're paying for judgment as much as brushwork.
Coil builds and adapts curly-hair routines around your porosity, density, scalp condition, and habits, with daily check-ins and photo tracking to help you notice changes. If you're adjusting wash days and conditioning after balayage, visit Coil to build a routine around the hair you have now, rather than the routine you followed before coloring.